When you’re shopping for promotional materials, size is definitely on your mind, but not in any way that’s helpful. You may walk into a printer or vendor and say you want ‘Something that covers the whole wall’. Or, in a moment of frustration, you may glance around their offices, sizing up their windows and doors for guesstimates. ‘Um … I think it’s about the width of that window … ?’ This is a problem on two levels. One, buying the wrong size is a waste.
You’ll grab your new banner, ship it to your venue, then realise it doesn’t fit. Your vendor may be willing to re-size it, but depending on how your messaging is laid out, re-sizing may not be an option. Trimming the sides might cut into your visuals and copy. At the other end, once the fabric is cut, you can’t just make the banner bigger. Meaning you have to source new fabrics, re-draft, re-draw and re-print.
Even the most generous supplier won’t do this without charging you an extra fee. If they did they’d soon be out of business. A common workaround is to apply standard sizes like A1 or B5. But these sometimes differ, depending on where you ordered your banners. They might use European sizing standards, or Asians ones. Translating those measurements is a whole other matter. (Think of shoe shopping on a global website, but seven times worse.)
Get a Piece of Tape
Your best move is to pre-measure the spot where you intend to hang your banner. Your vendor can assess your measurements then recommend the closest size. Some banner suppliers make this even easier by offering templates with pre-set dimensions. All you have to do is plug your words, images, and/or graphics onto the stencil, verify your colour choice, and print. Still, let’s look at some common Aussie banner sizes you may want to apply.
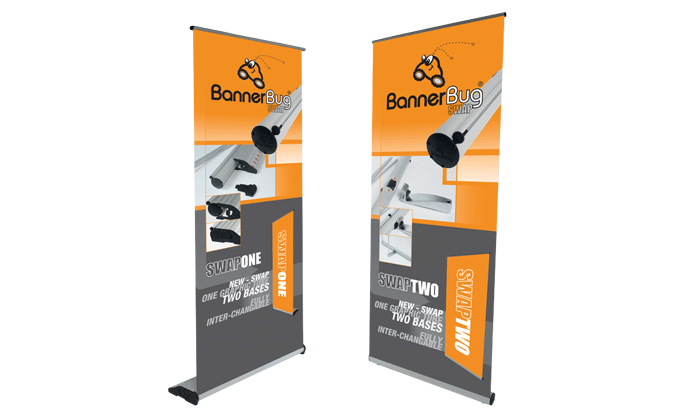
The smallest banners are usually desk-top sized. They hover around the one-foot mark, so their sizing is roughly 20cm to 40cm. You’ll find them listed as 220mm or 400mm. Lengthwise, a deskbug can be 485mm, 585mm, or 880mm. These measurements refer to the dimensions of the actual art. To leave some extra ‘bleed’ room that allows you to leave a margin around your visuals (or frames), sizing would be 230mm for smaller deskbugs and 410mm for larger ones.
More space is required at the top and bottom than on the sides, because of the retractable base and the top sealed edge. Therefore, a deskbug whose artwork is 585mm will require an overall height of 710mm. Once the fabric is folded over the edge and secured, its height – stand inclusive – is 570mm. But in lay terms, tell your vendor you want a foot-wide desktop banner.
Depth, Width, Breadth
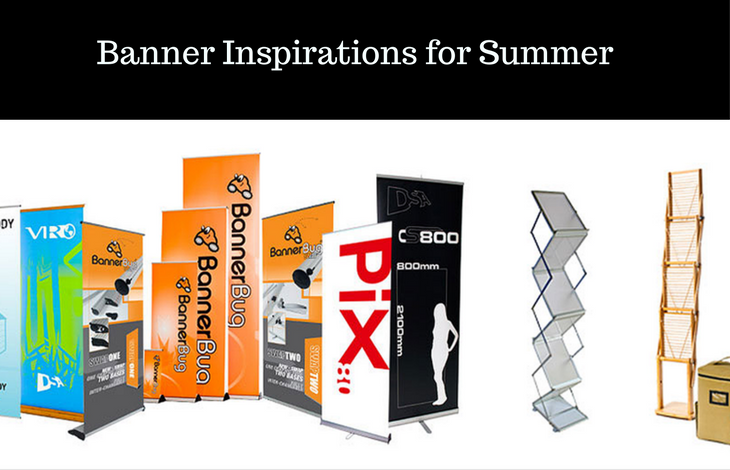
Vertical height can be half a metre to one metre on paper, but in reality, it’ll be 1,105mm at most, though once it’s tucked inside its base, it edges down to 960mm. For floor-based banners, 1m by 2m is a popular size. Visuals will cover 2170mm while the whole fabric is 2395mm. Those oddly specific figures are sometimes the result on converting inches to centimetres, or some other type of metric/imperial conversion, as your promotional materials cross borders.
A few years back, 3m media walls were considered the largest banner, and several could be laced together for greater coverage. The actual dimensions of a 3m banner are 2,900mm, though they also come in 1,800mm and 2,400mm sizing. This is for banner length. Banner width hovers around the 2m mark with 2,170mm visuals, 2,395mm graphics, and a final size of 2,200 mm as it stands inside its base. Nowadays, media walls can stretch to 6m.
And if you’re using a pop-up system where your fabric curves around a modular stand, your largest single sizing option is 3 x 4, which translates as 3,932mm by 2,305mm of graphic space, bleed inclusive. Aside from the above measurements, these pop-up banners are listed as 3 x 2 and 3 x 3. So if you’re thinking about popular sizes, think 1 foot, 2 feet, 1m, 2m, 3m, and 6m.
Weigh your promotional spaces within these broad lines and your banner supplier will help you narrow them down. Remember though, re-sizing is pricy and often unnecessary, so measure twice, cut once, and print on a glare proof, scratch-proof, chip-proof, peel-proof surface, using ink / paint that has ultraviolet protection built in.
Read More: